

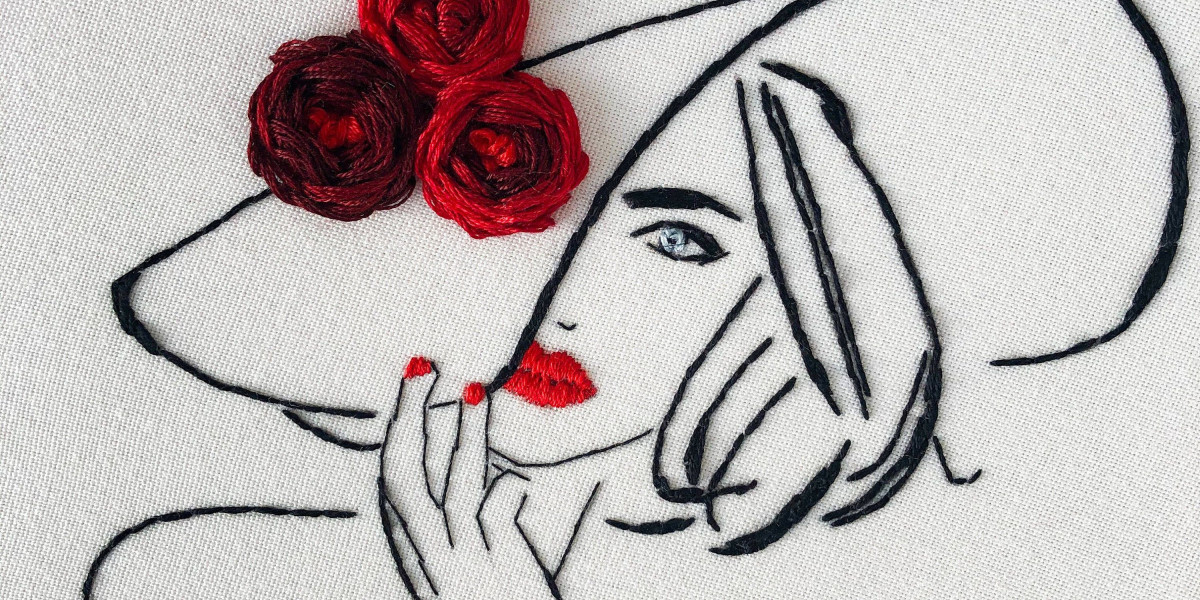

Imagine turning a cherished family photo, a breathtaking landscape, or even your pet's adorable face into a beautiful embroidered keepsake. With today's technology and some basic know-how, convert photos to embroidery patterns is more accessible than ever. Whether you're a seasoned embroiderer or just starting out, this guide will walk you through the entire process—from selecting the right photo to stitching your final masterpiece.
Why Embroider a Photo?
Photos capture moments, but embroidered photos turn those moments into tactile works of art. Unlike a printed picture, an embroidered version has texture, depth, and a handmade charm that makes it truly unique. It's perfect for creating personalized gifts, memorializing special occasions, or simply adding a creative twist to your home decor. Plus, the process of converting a photo to stitches is surprisingly satisfying once you get the hang of it.
Choosing the Right Photo
Not all photos translate well to embroidery. The best candidates have:
- Clear contrast – Images with distinct light and dark areas work better than those with similar tones throughout.
- Simple compositions – Busy backgrounds or too many small details can become messy when stitched.
- Emotional impact – Since embroidery takes time, pick a photo that's meaningful to you. Portraits, pets, and iconic landscapes are popular choices.
If your favorite photo doesn't meet these criteria, don't worry—photo editing software can help adjust contrast, remove backgrounds, or simplify details before you start stitching.
From Pixels to Stitches: Understanding the Process
Converting a photo to embroidery isn't as simple as loading an image into your sewing machine. Unlike digital printing, embroidery uses threads to recreate shapes and shades through different stitch types and densities. Here's how it works:
- Digitizing the Image – Special software (or a professional digitizer) analyzes your photo and converts it into stitch data. This determines where stitches go, what colors to use, and how dense they should be.
- Choosing Stitch Types – Common choices include:
- Fill stitches for large, solid areas
- Satin stitches for smooth edges and details
- Running stitches for fine lines
- Selecting Thread Colors – Unlike photos with millions of colors, embroidery typically uses a limited palette. The digitizing process simplifies colors into thread matches.
DIY Methods for Photo Embroidery
1. Manual Tracing (For Hand Embroidery)
If you enjoy hand stitching, you can transfer a photo directly onto fabric and stitch it freehand:
- Print your photo in the desired size.
- Trace major outlines onto tracing paper or use a lightbox to transfer directly to fabric.
- Choose 5-8 thread colors that represent the main shades in your photo.
- Use long-and-short stitch or satin stitch to fill in areas, working from background to foreground.
This method is time-consuming but gives you complete creative control.
2. Printable Stabilizer Method
For machine embroidery:
- Print your photo onto water-soluble stabilizer.
- Hoop the stabilizer with fabric underneath.
- Stitch over the printed image, using the photo as your guide.
- Wash away the stabilizer to reveal your embroidered photo.
This works best for simpler designs and requires some practice to perfect tension and stitch settings.
3. Using Digitizing Software
For the most professional results:
- Import your photo into embroidery software (like Brother PE-Design, Hatch, or free options like Ink/Stitch).
- Use auto-digitizing features as a starting point, then manually clean up stitch directions and densities.
- Export the design to your machine's format (PES, DST, etc.).
- Stitch a test run on scrap fabric before your final piece.
Pro Tips for Better Photo Embroidery
- Start small – Large, detailed photos can require thousands of stitches and hours of machine time. Begin with 4x4 inch designs.
- Simplify first – Use photo editing software to convert your image to black and white or posterize it (reduce colors to 5-8 tones) before digitizing.
- Mind your fabric – Stable, tightly-woven fabrics like cotton twill work better than stretchy knits for photo embroidery.
- Test thread colors – Your screen's colors may not match actual thread. Order a few shades or test stitch color blocks first.
Common Challenges (And How to Solve Them)
Problem: The embroidered photo looks messy or unrecognizable.
Solution: Your original photo may be too complex. Try increasing contrast, removing backgrounds, or stitching a smaller version.
Problem: The fabric puckers.
Solution: Use heavier stabilizer and reduce stitch density in your digitizing software.
Problem: Small details disappear.
Solution: Focus on the most distinctive elements of the photo. Sometimes less detail makes for a stronger embroidered image.
Inspiring Photo-to-Embroidery Ideas
- Pet portraits – Capture your dog's expressive eyes or cat's distinctive markings in thread.
- Baby announcements – Turn ultrasound photos or newborn portraits into heirloom embroidery.
- Travel memories – Embroider a skyline from your favorite city or a landmark from a special trip.
- Botanical illustrations – Flowers and leaves translate beautifully to thread with their natural textures.
When to Hire a Professional
While DIY photo embroidery is rewarding, some projects benefit from professional digitizing services, especially for:
- Highly detailed portraits
- Large-scale designs (more than 8x8 inches)
- Complex color gradients
- Important gifts or commissions
Websites like Etsy, Fiverr, and specialized embroidery services can convert your photo to an embroidery file for $10-$50, depending on complexity.
The Joy of Photo Embroidery
There's something magical about watching a photograph emerge from thread and fabric. Unlike digital filters that instantly transform images, embroidered photos reveal themselves slowly, stitch by stitch. The imperfections—slightly off colors, the texture of the threads—become part of the charm, evidence of the human hands that created it.
Whether you choose to hand stitch while watching TV or let your embroidery machine do the work while you prepare the next project, photo embroidery opens new creative possibilities. Your favorite memories aren't just for frames anymore—they can become part of your wardrobe, your home decor, or precious handmade gifts.
So dig through those photo albums, pick an image that speaks to you, and start planning your first (or next) photo embroidery project. With some patience and practice, you'll be creating thread-based portraits that amaze your friends and family. After all, in our digital age, there's something wonderfully tangible about holding a stitched photograph in your hands.